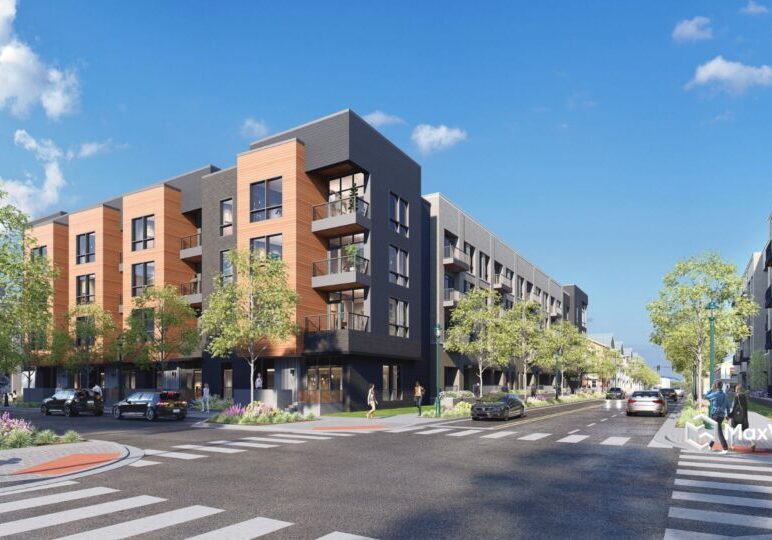
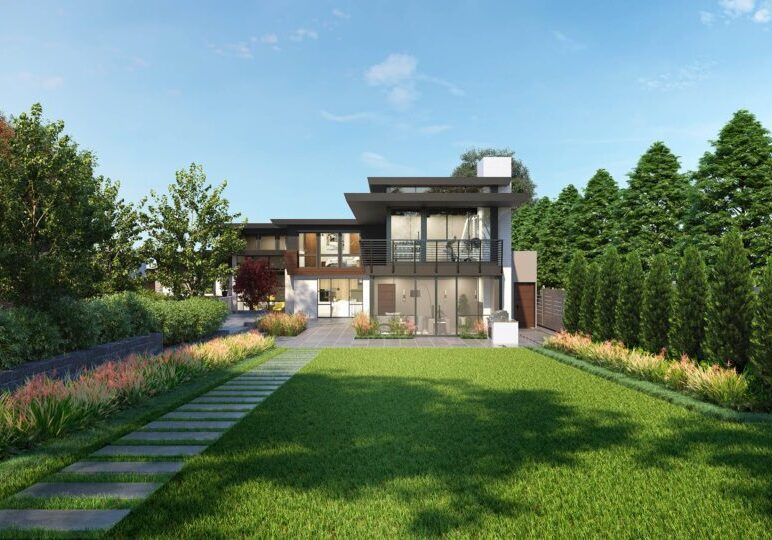
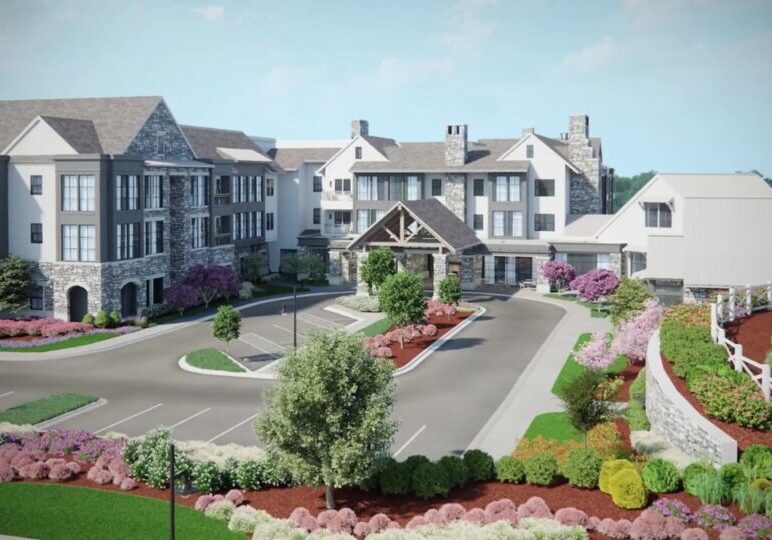
Creating realistic architectural renderings using 3D visualization tools takes a combination of both technical and artistic skills. It takes talent and study to understand all that is needed to create a realistic image of a space, building or structure. The tips below will help enhance the reality of those images.
1. Pay attention to the details.
To make images more realistic, details matter. It’s important to use photograph-quality scans on textures or materials. Visualizations should include wrinkles in fabric, chamfers on hard edges and show surface softness when appropriate. Rounding the edges of each surface will help create additional depth and realism to 3D rendering images. Each edge should be adjusted individually to highlight the differences between the types of surfaces.
2. Tell an emotional story.
Details, like those listed above, can help create a visual story about life in the building or space. Something as simple as placing a coffee cup and a computer on a desk can help viewers picture themselves living or working there.
It’s also important to create feelings with your images. What emotions do you want the space to evoke? Maybe comfort, fun, family, love and peace, or maybe efficiency, organization and energy. Conveying these feelings to a viewer can be accomplished through your décor, color and lighting choices.
3. Establish a focal point.
A focal point, also called a visual center, is the object or area of an image that stands out to a viewer. Despite its name, it doesn’t have to be in the center of the image. Once you’ve determined where you want the focal point to be, arrange the other elements around it to achieve the desired scale and balance.
4. Maintain style consistency.
Rendering style should remain consistent across images for the same space or project. Similar to a group of photos of the same building, you want your visualizations to look consistent enough that viewers will know they are related. For example, all renderings for a project should have a similar tone, warm or cool.
5. Keep textures realistic.
Using realistic texture images is important when creating a visualization. A variety of tools can be used to help create photorealistic textures. Photometric stereo-scanned textures are created by photographing a surface under a variety of lighting angles. Software then analyzes the shadows in the images to make a 3D model of the surface. Another tool, procedural textures, stores surfaces as mathematical equations, which take up less memory than images. The formulas are then used to produce complex patterns based on certain inputs.
6. Pay attention to lighting.
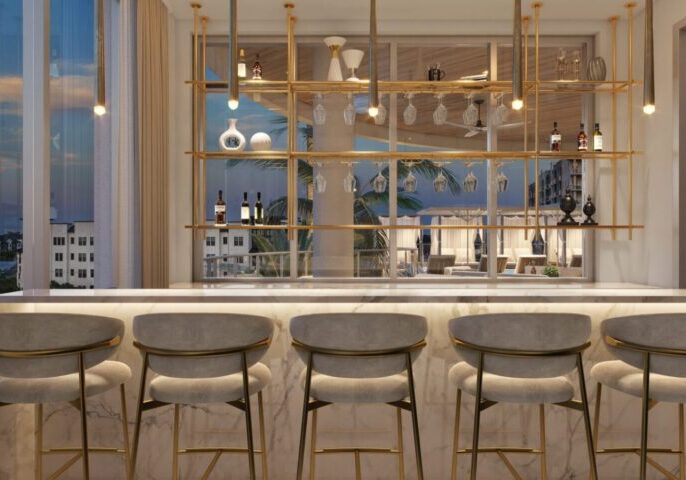
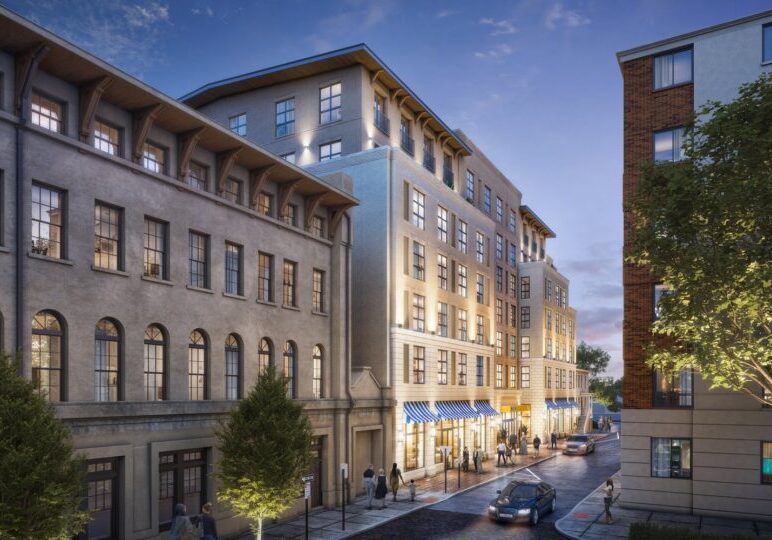
Lighting is one of the most important features in a visualization. Accurately portraying lighting in a space is key to improving realism. Characteristics like light temperature and source (natural vs. artificial) can significantly affect the coloring of an image. Highlights and mood lighting are often used to draw attention to specific areas or features. Additionally, whether an image takes place in the day or night can also affect color rendering and draw attention to light fixtures and sources.
7. Select the right viewpoint.
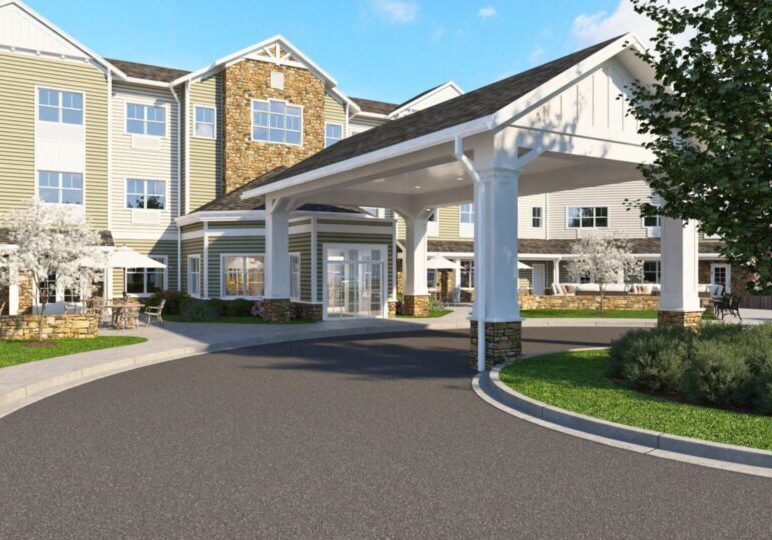
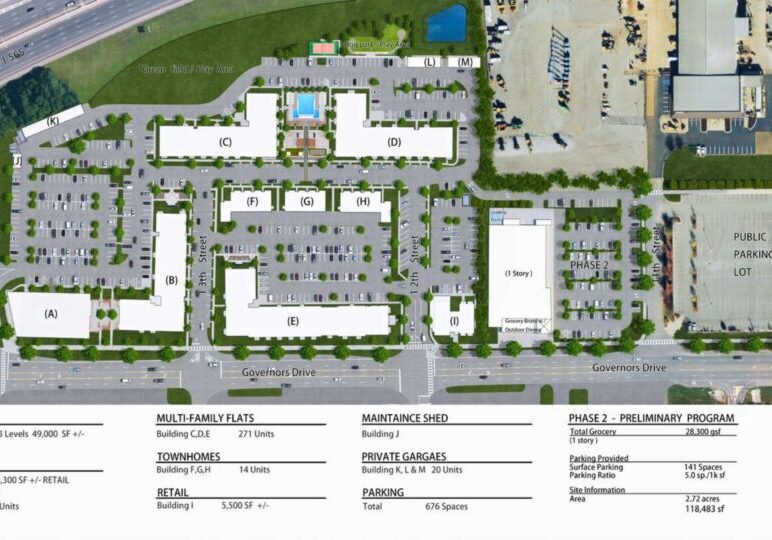
Pay attention to the location a viewer would be in when seeing the view portrayed by the image. In architectural renderings, most, though not all, of the images will be from eye level. On the other hand, multi-floor section views, also called dollhouse renderings, may be taken from an exterior viewpoint, and floor plans may be shown from above.
8. Use the proper scale.
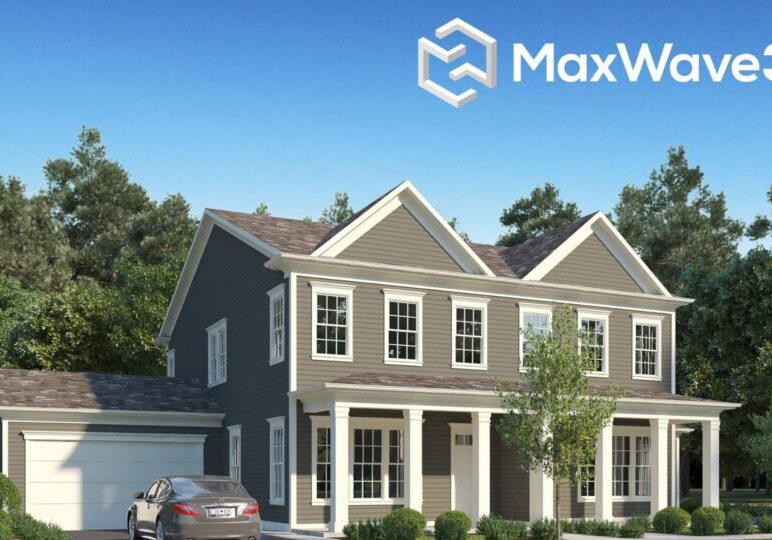
Objects should be sized proportionally to the surroundings and other objects in the image. Determine the best scale to use based on the overall size of the project and the images requested and apply that scale to all the elements in the image. Maintaining the spatial relationship between elements of the image will make it appear more realistic.
9. Blur image backgrounds.
In photography, depth of field is the portion of an image that is in focus. A higher depth of field creates an image that is sharp and in focus no matter how far away the elements are. A lower depth of field results in blurry elements in the foreground and background.
Think like a photographer and use rendering tools like a camera: The depth of field in a 3D visualization puts elements closer to the viewer more in focus than elements that are farther away. The farther away an object or surface is, the blurrier it should be. Using depth of field in your renderings is more realistic because it mimics how a camera works.
The team at MaxWave3D understands the process of creating realistic architectural visualizations, including the tips above. Our expert team transcends the traditional boundaries of our field. For inquiries or questions, please contact us to request a quote, get more information or set up a free consultation.
Share this Update
discover more
Build Your Own Photorealistic Visuals with MaxWave3D
At MaxWave3D, we strive to exceed all of your expectations, giving your agency enough time and talent to fulfill every project efficiently. Not only are we experienced in the creation of digital assets, but we also help you integrate these assets into your presentations, websites, social media and other marketing channels.

